As you will have learnt in you early freediving course(s), done properly, freediving is an extremely safe sport where we use the buddy system to watch each other and of course the golden rule is to NEVER FREEDIVE ALONE. Following from that we learn how to recognise and then rescue from both a black out (BO) and Loss of Motor Control (LMC), repeated on every course and from each discipline of freediving (pool and open water). Next comes never pushing your limits and paying attention to your own personal condition, both mental and physical (tiredness, cold, hydration, relaxation/stress etc), learning to dive conservatively and within our limits

THE Golden Rule
But in this blog post I wanted to cover what I consider to other less considered or overlooked aspects of safety. In over 12 years of teaching freediving I have made mistakes (and learned from them!), seen others making mistakes and heard about other peoples mistakes, accidents or close calls. So here are what I consider to be the 5 top overlooked aspects of freediving safety:
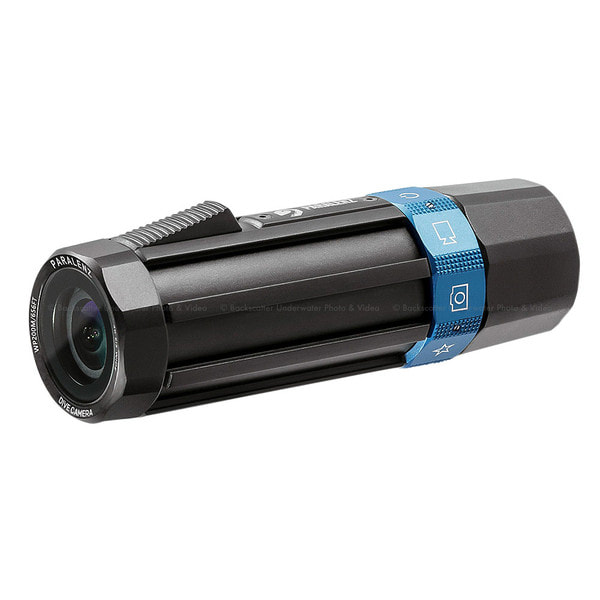
#1: Maintaining Equipment
With time and use your equipment degrades and even more so if it is not looked after properly and cleaned after dive sessions. I have seen (and even had!) fins snap, weight belts break, carabiners fail, masks break.... the list goes on.
In the majority of cases it is not a single failure it is degradation over time, which can be visible and therefore preventable.
So what can you do? Visually check all equipment as you assemble it for your dive session. And every 6 or 12 months do a more thorough check. This is especially important if you have not used equipment for a period of time and it has been in storage.
Replace equipment BEFORE it breaks to prevent a problem occurring in the first place. Prevention is always better than having to react to a bigger problem, or even accident, caused by improperly maintained equipment.
#2: Communication
Beginner freedivers especially, but all recreational levels (and beyond!) seem to forget that if you have a buddy, you actually need to tell them what you are doing. Often it is a shock for freedivers after their course is completed, when they don't have a paid safety diver (the instructor) anymore, and the person they are now accompanied by is not 100% there to watch and help them the whole session. However, you should both be 100% invested in helping each other as buddies although it is not your paid job, it is of course mutually beneficial. Just some people are better at it than others.
But as much as we would like to be, people are not mind readers, so remember to take time to discuss the key topics of a dive, including but not limited to; depth, discipline (dive type), time etc (WHERE will you go, HOW will you get there, WHO will help you if needed, WHEN will you be back).
Sounds easy but is often not done properly.
 #2: What did you say? I wasn't listening... |  #1: Still has plenty of life left (NOT!) |
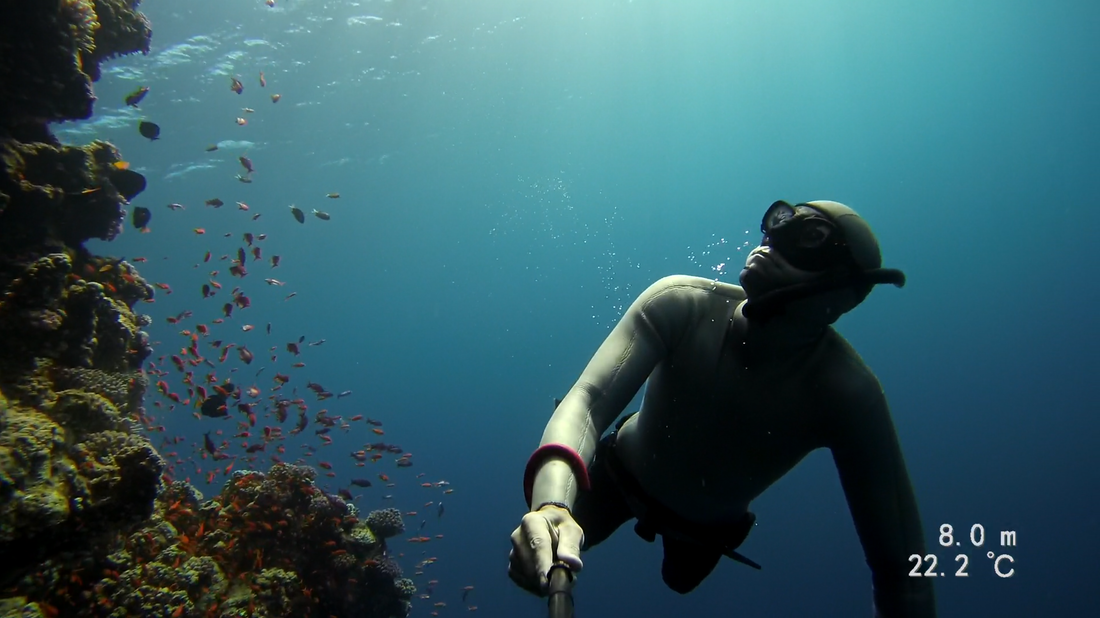
#3: Exploring is different to line training
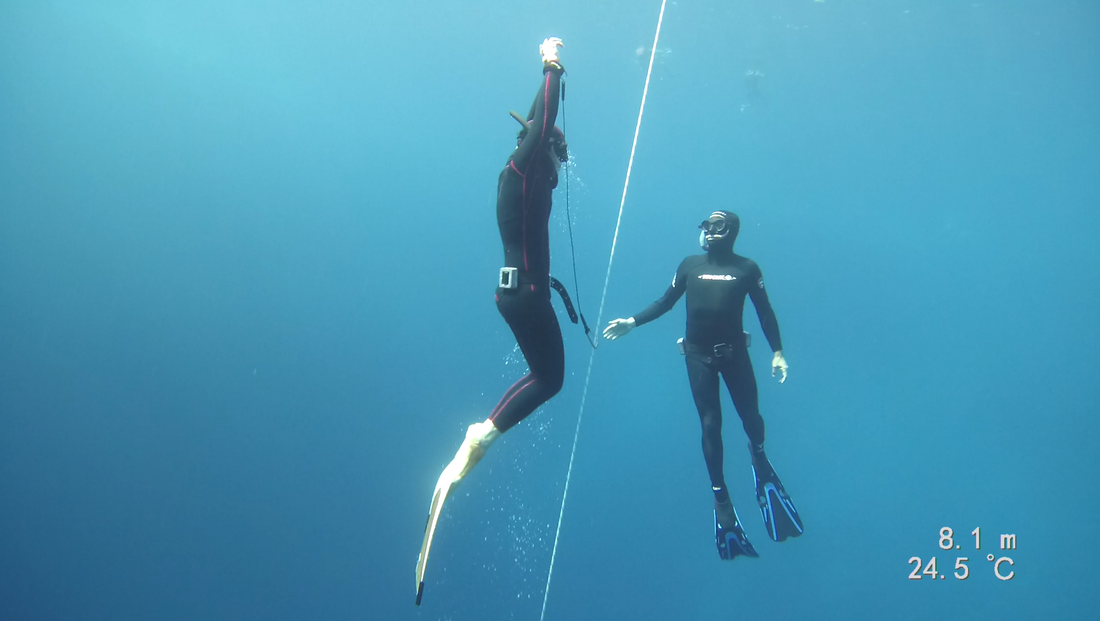
Diving using a buoy / rope / weight / lanyard set-up makes things much much easier to do deeper and more efficient freedives. This is often overlooked and when recreational freedivers dive on the reef to explore they often mistakenly assume they can achieve the same depths or times.
This is incorrect. Having a buoy (to rest on), a rope (to take you in a straight line and turn on), a weight (to allow you to 'pull' up or down if needed) and a lanyard (to keep you safely close to the line) all make a huge difference to how easy and relaxed the dives are, but more importantly how safe. So much so, that when diving off the line you should reduce your maximum depth by at least ONE THIRD. Therefore, if you are a 20m diver on the line, your recreational off-line diving depths should be limited to 13-14m range for the purpose of safety.
#4: Pay Attention
Paying attention is an important safety aspect, but does sound rather broad and vague, so let me elaborate. This can be applicable to three main areas: 1) Yourself 2) Your buddy 3) Other factors (such as weather and equipment).
As an example, it is not uncommon while teaching for me to see a freediver about to dive with either no lanyard attached (forgotten) or a lanyard on the wrist but the other end is still attached to the buoy and not the rope. So both the freediver has not noticed this AND the buddy has not noticed this. Now this is not uncommon for new freedivers as they learn and have lots to think about, but once diving independently details such as this matter (for both safe and enjoyable dives).
Also, are you noticing if you are getting more tired or colder or heavier contractions etc? Maybe time to stop the session.
Did you notice that the waves are getting bigger or the current getting stronger or visibility deteriorating? Maybe time to stop the session.
You get the idea.
#5: Weight is NOT fixed
What do I mean by this? I am suggesting that the weight you put on your weight belt needs to be thought about and adjusted on a fairly regular basis. As part of the AIDA3 Advanced Freediver Course it is taught to consider what and where is 'Neutral Buoyancy' and what factors will have an effect on this...... Think, wetsuit thickness, water type (salt or fresh), how deep you want to dive, what safety precautions you have, what your buddy is capable of etc.
Think about this statement:
"Deeper neutral buoyancy is the SAFER option."
Let that sink in....
Setting your neutral buoyancy DEEPER means LESS weights on your belt. This means it is harder to get down, but easier to come up (which, remember, is the hard part of the freedive), and that if (in the very unlikely scenario) you should have an underwater blackout, you are more likely to float back to the surface rather than sink deeper.
Deep freedivers taking part in competitions take the absolute minimum weight down with them because then it is less to bring back up on the harder, second part of the freedive.
Here is another statement for you:
"More weight should not replace bad technique."
Meaning that it is dangerous to simply add more weight to get down underwater easier. If you struggle to reach neutral and then negative buoyancy while correctly weighted you need to work on your duck dive and finning techniques, which is a topic for another blog post!
What do you think, are there any others that could be on this list? Let me know in the comments section.
By David Watson, Owner, Founder & Head Instructor / AIDA Instructor Trainer at One Breath Freediving