One Breath Freediving
  • Home
  • About
    • One Breath Freediving
    • Dahab Freediving
    • Frequently Asked Question's
    • AIDA International
  • Freediving & Courses
    • AIDA 1-4 Freediving Courses (Intro, Beginner, Advanced, Master)
    • AIDA Instructor Course
    • AIDA Monofin Course
    • AIDA Competition Safety Freediver Courses
    • AIDA Youth Courses
    • Training, Coaching, Exploring & FUN Freediving
    • AIDA FEMR (Freediving Emergency Medical Responder) Course
    • Dry Workshops
  • Booking
  • Shop
  • Blog
  • Contact

5 Overlooked Safety Mistakes & How to Avoid Them (Vital for New Freedivers!)

28/5/2024

0 Comments

 
As you will have learnt in you early freediving course(s), done properly, freediving is an extremely safe sport where we use the buddy system to watch each other and of course the golden rule is to NEVER FREEDIVE ALONE. Following from that we learn how to recognise and then rescue from both a black out (BO) and Loss of Motor Control (LMC), repeated on every course and from each discipline of freediving (pool and open water). Next comes never pushing your limits and paying attention to your own personal condition, both mental and physical (tiredness, cold, hydration, relaxation/stress etc), learning to dive conservatively and within our limits
Picture
THE Golden Rule
​But in this blog post I wanted to cover what I consider to other less considered or overlooked aspects of safety. In over 12 years of teaching freediving I have made mistakes (and learned from them!), seen others making mistakes and heard about other peoples mistakes, accidents or close calls. So here are what I consider to be the 5 top overlooked aspects of freediving safety: 

#1: Maintaining Equipment
With time and use your equipment degrades and even more so if it is not looked after properly and cleaned after dive sessions. I have seen (and even had!) fins snap, weight belts break, carabiners fail, masks break.... the list goes on.
In the majority of cases it is not a single failure it is degradation over time, which can be visible and therefore preventable. 
So what can you do? Visually check all equipment as you assemble it for your dive session. And every 6 or 12 months do a more thorough check. This is especially important if you have not used equipment for a period of time and it has been in storage. 
Replace equipment BEFORE it breaks to prevent a problem occurring in the first place. Prevention is always better than having to react to a bigger problem, or even accident, caused by improperly maintained equipment.
​
#2: Communication

​Beginner freedivers especially, but all recreational levels (and beyond!) seem to forget that if you have a buddy, you actually need to tell them what you are doing. Often it is a shock for freedivers after their course is completed, when they don't have a paid safety diver (the instructor) anymore, and the person they are now accompanied by is not 100% there to watch and help them the whole session. However, you should both be 100% invested in helping each other as buddies although it is not your paid job, it is of course mutually beneficial. Just some people are better at it than others.
But as much as we would like to be, people are not mind readers, so remember to take time to discuss the key topics of a dive, including but not limited to; depth, discipline (dive type), time etc (WHERE will you go, HOW will you get there, WHO will help you if needed, WHEN will you be back).
​Sounds easy but is often not done properly.
​
Picture
#2: What did you say? I wasn't listening...
Picture
#1: Still has plenty of life left (NOT!)

​#3: Exploring is different to line training
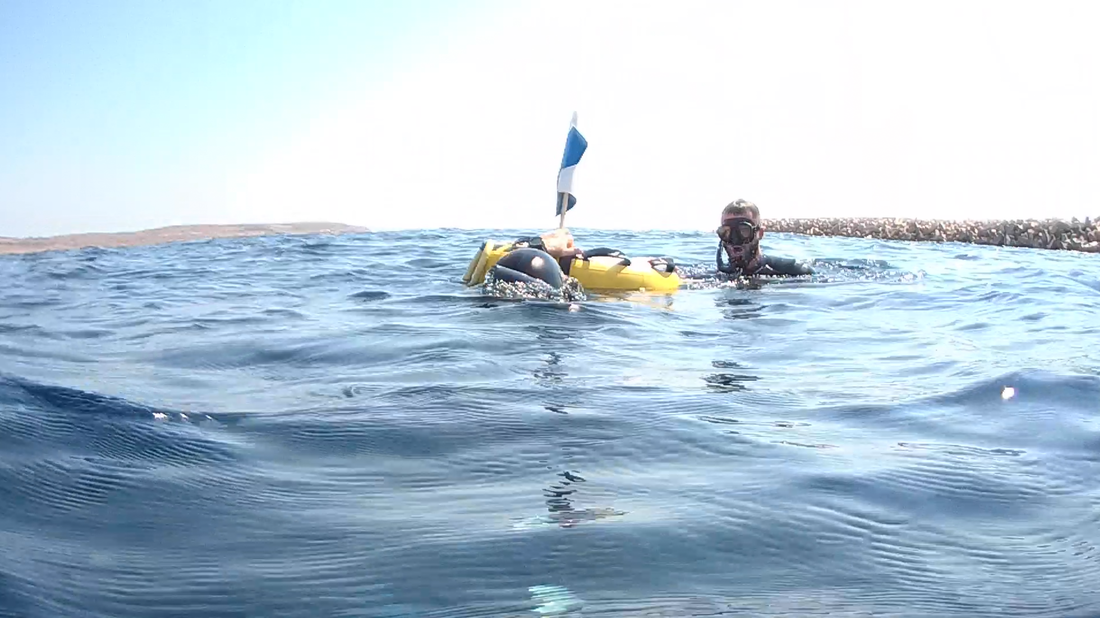
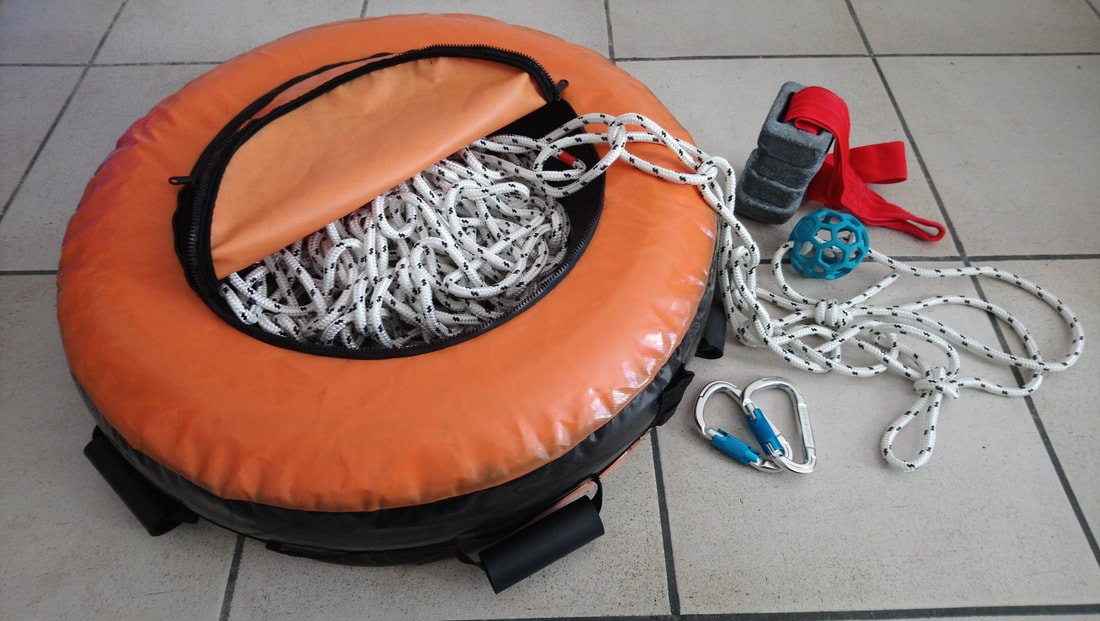
Diving using a buoy / rope / weight / lanyard set-up makes things much much easier to do deeper and more efficient freedives. This is often overlooked and when recreational freedivers dive on the reef to explore they often mistakenly assume they can achieve the same depths or times.
This is incorrect. Having a buoy (to rest on), a rope (to take you in a straight line and turn on), a weight (to allow you to 'pull' up or down if needed) and a lanyard (to keep you safely close to the line) all make a huge difference to how easy and relaxed the dives are, but more importantly how safe. So much so, that  when diving off the line you should reduce your maximum depth by at least ONE THIRD. Therefore, if you are a 20m diver on the line, your recreational off-line diving depths should be limited to 13-14m range for the purpose of safety.


#4: Pay Attention
Paying attention is an important safety aspect, but does sound rather broad and vague, so let me elaborate. This can be applicable to three main areas: 1) Yourself 2) Your buddy 3) Other factors (such as weather and equipment).
As an example, it is not uncommon while teaching for me to see a freediver about to dive with either no lanyard attached (forgotten) or a lanyard on the wrist but the other end is still attached to the buoy and not the rope. So both the freediver has not noticed this AND the buddy has not noticed this. Now this is not uncommon for new freedivers as they learn and have lots to think about, but once diving independently details such as this matter (for both safe and enjoyable dives).
Also, are you noticing if you are getting more tired or colder or heavier contractions etc? Maybe time to stop the session.
Did you notice that the waves are getting bigger or the current getting stronger or visibility deteriorating? Maybe time to stop the session.
You get the idea.

​
​#5: Weight is NOT fixed
​What do I mean by this? I am suggesting that the weight you put on your weight belt needs to be thought about and adjusted on a fairly regular basis. As part of the AIDA3 Advanced Freediver Course it is taught to consider what and where is 'Neutral Buoyancy' and what factors will have an effect on this...... Think, wetsuit thickness, water type (salt or fresh), how deep you want to dive, what safety precautions you have, what your buddy is capable of etc.

Think about this statement:
                                     "Deeper neutral buoyancy is the SAFER option."
Let that sink in....
Setting your neutral buoyancy DEEPER means LESS weights on your belt. This means it is harder to get down, but easier to come up (which, remember, is the hard part of the freedive), and that if (in the very unlikely scenario) you should have an underwater blackout, you are more likely to float back to the surface rather than sink deeper.
Deep freedivers taking part in competitions take the absolute minimum weight down with them because then it is less to bring back up on the harder, second part of the freedive.

Here is another statement for you:
                                      "More weight should not replace bad technique."
​

Meaning that it is dangerous to simply add more weight to get down underwater easier. If you struggle to reach neutral and then negative buoyancy while correctly weighted you need to work on your duck dive and finning techniques, which is a topic for another blog post!


What do you think, are there any others that could be on this list? Let me know in the comments section.​
By David Watson, Owner, Founder & Head Instructor / AIDA Instructor Trainer at One Breath Freediving ​
0 Comments

First Impressions: AIDA Depth Competition Safety Freediver Course

24/4/2024

1 Comment

 
The AIDA Depth Competition Safety Freediver Course (alongside the Pool version) is a new course from AIDA with the goal of updating and standardising the role of the competition safety freediver to ensure the highest safety standards for future AIDA competition events. Going forward, all future safety freedivers will be selected  based on initially having this certification and then a subsequent points system that signifies experience gained from prior competition safety freediver participation.

​Note:
This course is only taught by a limited number of AIDA Instructors who are also AIDA Judges

Who is this course for?
  • Those that want to be official safety freedivers in future AIDA competition events
  • Freedivers interested in the latest safety and rescue procedures to make their own training safer
  • Additionally, I would recommend  the course for Athletes to better understand the role of the safety freediver which will give themselves greater reassurance that they are being professionally supervised when competing
What does the course include?
  • 3x Open Water Sessions
  • 4x Theory Sessions
  • 1x Written Exam​
Picture
What are the key physical and rescue components of the course?​
Fulfil the following physical requirements:
  • 35-40m CWTB dives (3x per session)
  • 30m dive + 30” surface recovery + 20m dive
  • 20m dives with 3-5 seconds notice, at fast pace (early turn simulation)
Course requirements:
  • 20m solo rescue (as if only one safety freediver)
  • 25m team rescue with 30 seconds notice (in all safety diver roles #1, 2 & 3)
  • Rescue from various depths (20-25m) in various simulated situations
  • ​Full rescue extraction
Initial impressions of teaching this course:
  • It is an intense course run over 2 days with a high amount of work needed to be completed in the sessions, both in and out of the water.
  • It is PHYSICALLY DEMANDING course with the number of deep dives and deep rescue dives needed to complete the pass requirements. An above average level of fitness and endurance is needed to complete the physical demands. (REMEMBER, you are training to be absolutely ready for when another person, the athlete, is in need of your help!).
  • Preparation for the course is recommended to include: Familiarity with the current AIDA competition rules. Teaching / assisting teaching is great to get used to focusing on another diver and diving when they are ready, not when you are ready. CO2 tables to get used to having contractions during dives. Practice rescuing someone after a short hang.
  • Being a safety freediver can be both GREAT FUN and rewarding and builds camoraderie among those who are the unsung heroes of freediving competitions.
By David Watson, Owner, Founder & Head Instructor / AIDA Instructor Trainer at One Breath Freediving 
1 Comment

Freediving & Effects of Sea Conditions / Weather

29/8/2022

0 Comments

 
One thing that I get asked about by students and customers often, or find that there is a lot of confusion around, is sea conditions and how the weather effects us as free divers. When I talk about "waiting to see how the weather is on X day" a new diver or non-diver will often think about if the sun is out or if it might rain, which is of much less importance to us than the wind strength. Lets be clear: freediving in strong wind is not fun! For scuba divers, they can get in and go down and not feel the effects too much, while trying to relax on the surface can be quite a challenge in even moderate wind or chop.

So lets look at 4 of the main sea conditions that can be experienced:

Wind (Chop): The effect of the wind passing horizontally over the surface of the water causes localised waves which can range from small and insignificant to large and powerful (see Beaufort Wind Scale). Wind does not necessarily cause sea current and can often be in completely the opposite direction!
Wikipedia WIND information HERE

Tide: The rising and falling of the sea, usually twice in one lunar day due to the attraction between the moon and sun. Therefore tides are a predictable factor and in many parts of the world regularly updated and accurate 'Tide Tables' are available, mainly to help with shipping and other sea traffic.
Fact: The Mediterranean Sea does not get strong tides due to the narrow inlet at the Straits of Gibraltar that connects it to The Atlantic Ocean.
Wikipedia TIDE information HERE

Current: The movement of the water, often in a horizontal direction, often caused by water temperature differences. There can be ocean currents on a predictable global scale as well as more local currents
Wikipedia CURRENT information HERE
NOAA information HERE

Swell: This comes from distant weather conditions rather than local. Often in the sea it is experienced as the residual effect after a period of strong wind, where it is no longer locally windy but there is still a distinct up and down movement of the water, most noticeable on the shore line. Swell can travel thousands of kilometres through the sea.
Wikipedia SWELL information HERE


To efficiently read the weather, an app such as Windfinder (and more so the 'Pro' version which gives more detailed information). is a must for anyone that is in or on the sea on a regular basis. Also, the use of the 'Beaufort Wind Scale' is an invaluable way to gauge prevailing wind conditions purely by sight. Wikipedia information HERE

I hope you found this blog post interesting, let me know your thoughts in the comments.
Picture
By David Watson, Owner, Founder & Head Instructor / AIDA Instructor Trainer at One Breath Freediving
0 Comments

Product Review: Octopus Pulling System

5/7/2019

0 Comments

 
By David Watson, AIDA & PADI Master Freediver Instructor and Owner & Founder at One Breath Freediving, based in Malta

Octopus is a company producing innovative freediving equipment, and is owned by Swiss freediver and designer, Pascal Berger. Best known for their high quality products especially the nose clips which have proved to be extremely popular, the Octopus line now includes lanyards, an equalisation tool and the newest product in the range, the pulling system.
​
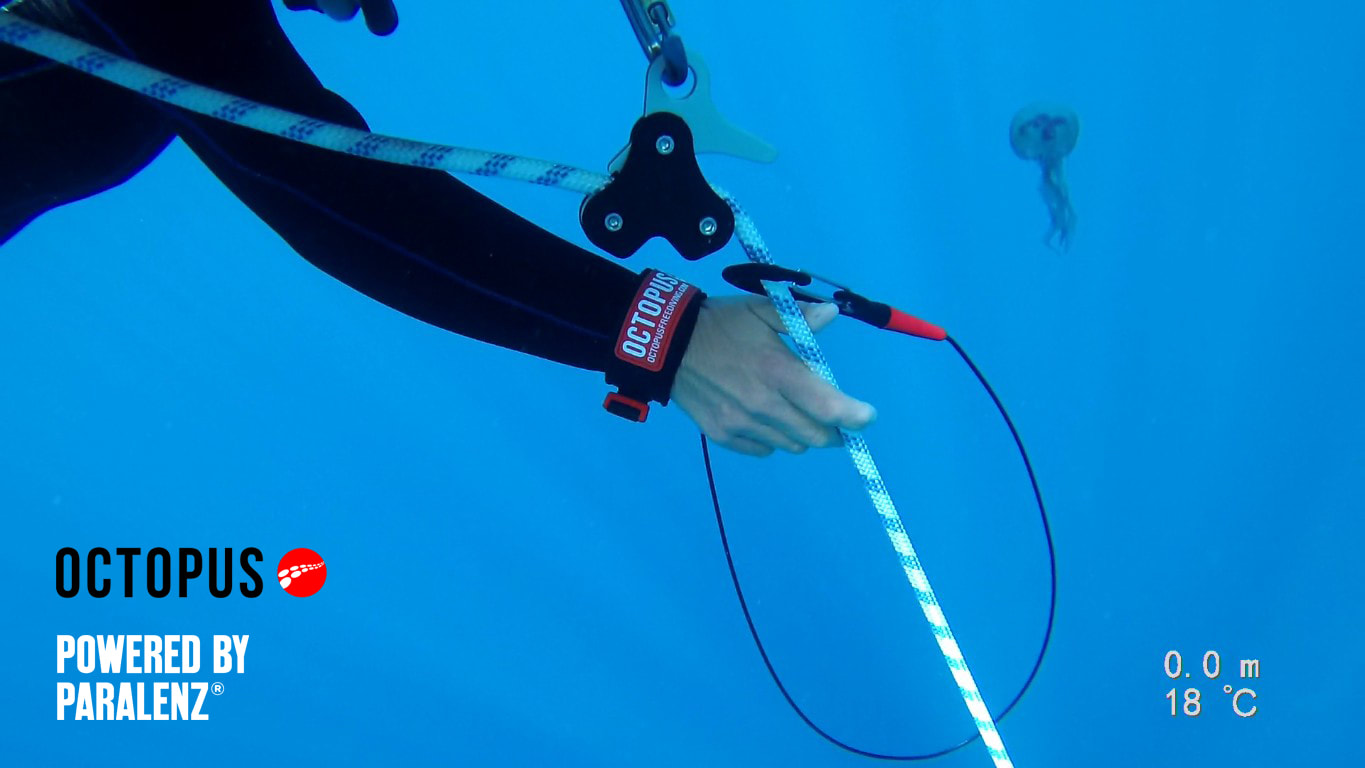
The pulling system is a smart product designed to allow you to pull up or let out the freediving rope in a controlled, safe and more energy efficient manner. Made from the strongest and lightest and strongest possible materials (including aluminium and carbon fibre), the first thing you notice is the size and the quality of the material. It is significantly smaller than other similar pully systems that are now on the market, and much more compact. The ergonomic triangle shape allows one handed, handling using a ‘trigger’ hand position as you release the line. Pull the trigger and the line flows through and release to let the tension stop the rope dead. 
Picture
To pull up you can put one foot on the carbineer (that the tool is clipped on to under the buoy), lean back and pull the rope towards you in a ‘left/right’ alternate pull. The great thing here is that with every release of the tension after each pull, the weight is taken back by the locking mechanism, allowing you to take a break every so often.  This is a huge improvement on the traditional bottom weight lifting method of climbing on top of the buoy and lying face down pulling the rope up, with no chance of a break and the potential of falling off / getting tangled in the line / swallowing sea water / losing your weight belt (as you get on or off), all of which I have seen happen or experienced myself!

Post dive maintenance is minimal and it is advertised as requiring very little care: “It is so resistant that you can just leave it hanging under your buoy. No real need to rinse in fresh water.” Says the marketing, and so far this has proved absolutely true.
 
PROS:
  • Great energy saver, especially when pulling up rope from depth
  • Small and compact and ergonomic design (one handed use)
  • Very easy to adjust the depth of the rope up or down
  • Added safety for deeper divers (250kg load capacity)
  • Works with ropes 8-12mm

​CONS:
  • Can pull off the rope length markers that are electrical tape
  • Not so easy to transfer it between ropes
  • Can make for a lazy freediver! :D  

​Final Thoughts:

A great addition to a freediving buoy set up. Very easy to use and requiring little or no maintenance, it is easy to have and forget about but adds a lot to the organisation of a freediving. Overall, a great solution for much easier rope handing for freediving training and a very well designed product.
 
The Octopus Pulling System is available now at One Breath Freediving
RRP: €50
0 Comments

Freediving Comino Wreck: P-31

18/6/2019

0 Comments

 
By David Watson, AIDA & PADI Master Freediver Instructor and Owner & Founder at One Breath Freediving, based in Malta
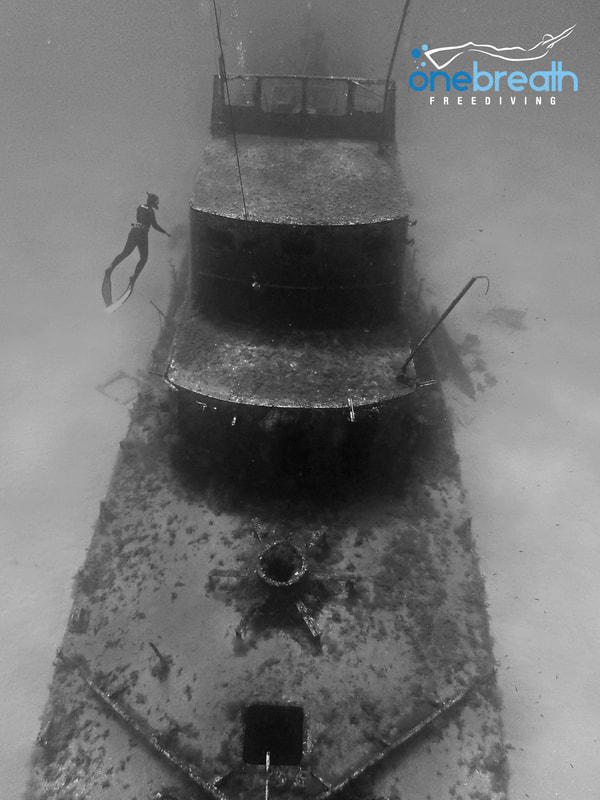
Freediving in the Maltese Islands has lots of wonderful features that make it spectacular; the stunning underwater visibility of up to 40m, the cliffs and caves that are prevalent across the islands, the deep blue colour of the water that is unique to the Mediterranean Sea. But one thing that really draws freedivers to Malta is the chance to dive on ship wrecks. Malta has a LOT of wrecks, some sunk by nature (storms), by humans (wars), or on purpose to create artificial reefs. The P-31 wreck falls into the latter category.
P-31 History & Key Information:
  • ​A former East German Kondor class mine sweeper built in 1960’s
  • Purchased by Malta in 1992 (along with P-29 & P-30)
  • Decommissioned in 2004
  • Sank 24th August 2009
  • 52m long, 7m wide, weighing 360 tons
Picture
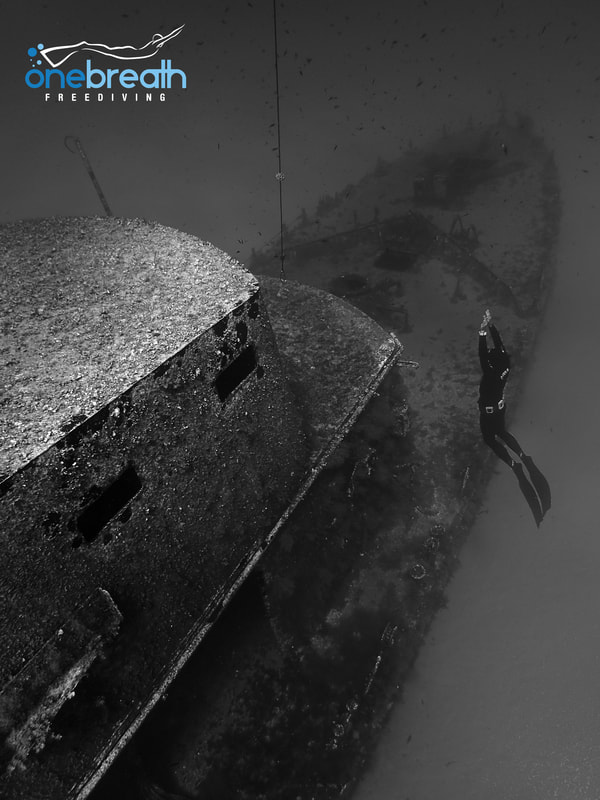
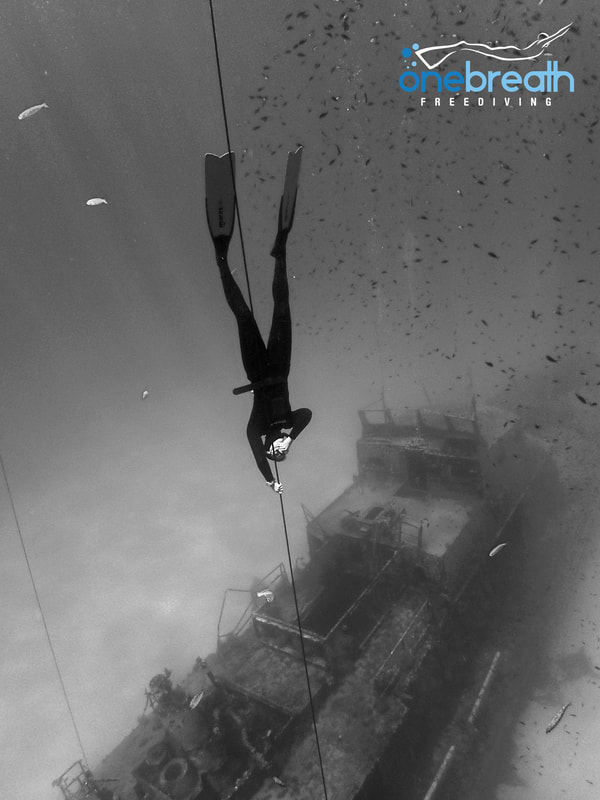
Since being purchased by the Maltese Tourism Authority and sank as an artificial reef attraction for divers, the P-31 now sits upright on the sandy seabed West of Comino( just South of Blue Lagoon and just West of Crystal Lagoon), approximately 200m from shore. The depth on the bottom here is 20m and the top of the wreck is at just 10m deep. In fact the P-31 sits so shallow that it was necessary to cut off the mast of the ship before sinking her so as not to obstruct boat traffic. The wreck can often be seen clearly from the surface when you arrive by boat and I have even seen it occasionally from out of the airplane window when arriving or leaving Malta on certain days! In the summer months you will see a yellow ‘X’ marker buoy above to indicate the wrecks position.
​
Since her sinking, the P-31 has had to weather some rough storms as the prevailing winds on the islands are from a NW direction and sitting this shallow in the water means that waves and swell have had an impact, but considering that she has been underwater for 10 years already the wreck is still in very good condition. Before sinking she was thoroughly cleaned and made safe for divers. This means doors and hatches were removed and obstructions such fixtures, wires and cables were cleared out. There are a number of levels to explore and for a freediver it is normally clear and obvious which direction it is possible and safe to go in.
Picture
​Specific Tips for Freediving The P-31 wreck:

  • Be careful of scuba divers! Sometimes there can be large groups of beginners on the wreck and they can block or obstruct exit points. Also, the wall of bubbles they release can hinder the view from a buddies perspective.
  • Check overhead and around you as sometimes there are still a few stray cables or pieces of metal jutting out or hanging loose. Mind not to cut your hands or catch your wetsuit on any sharp edges.
  • The large hatches (what would have been engine compartments) towards the centre and rear of the ship are open and linked together.
  • Surface close to your freediving buoy and display either the ‘diver down’ or ‘alpha’ flag (or both!), to signify that divers are in the water. Ideally, also have someone on the surface watching boat traffic that can warn or issue instructions.
Picture
5 Essential Tips for Wreck Freediving:
​
  1. Take a Freediving Course: Knowing how to breathe correctly, having efficient technique, and knowing your body and understanding safety and how to rescue correctly will all make you a better, safer and more confident freediver.
  2. Be a Good Buddy: Always freedive with a buddy, never freedive alone. This is the golden rule of freediving! And, watch your buddies dive attentively from the surface and then meet them at a depth of 10m as they return back to the surface.
  3. Do Your Research: Make a plan before you enter the water and discuss and adapt it during the session when necessary. Know what each other is doing and where you are going. Know the wreck: study photos, ask other divers. Is it safe? Look closely first from the outside and never go in anywhere where there is no clear and obvious exit
  4. Use Suitable Equipment: Use a freediving buoy and rope, that way you can relax and breathe safely before and after the dive, boat traffic can clearly see you, and you can get down to the wreck using Free Immersion and therefore save energy to explore the wreck with a longer bottom time. Also recommend is a torch to look into darker corners and a knife or line cutters in case or accidental entaglement.
  5. Have Fun! Freediving a wreck can be fascinating and exciting with so much to explore and discover. There really is something special about seeing close up some huge manmade structure out of its element and deep in the blue water.

Lastly, please remember, freediving, and especially wreck freediving, can be DANGEROUS. Always freedive with a buddy, never push your limits or enter enclosed spaces with no clear or obvious exit. Please take a freediving course for your own safety and that of your buddy.
Interested in wreck freediving? Then subscribe to One Breath Freediving and follow our ‘Wrecks of Malta’ video series! Speak to David about freediving courses and wreck exploration possibilities.
​

www.youtube.com/user/onebreathfreediving
www.onebreathfreediving.com
0 Comments

Freefall Feeling.....

6/12/2018

0 Comments

 
The freefall can be one of the nicest aspects of depth freediving. The moment on the descent when you become 'negatively buoyant' and start to sink independently of effort. This of course has it's advantages, most prominently; saving energy (and therefore oxygen) and aiding relaxation (saving oxygen and facilitating ear equalisation).
So what is involved in a good freefall? Let's take a look:
  • Correct weight: This allolws you to stop kicking at the correct point of the dive to start the freefall. Too light and you wont freefall early enough. Too heavy and you will waste energy on the ascent.
  • Body position: Tucked in (elbows and knees), legs together, looking ahead (not down), and relaxed shoulders and neck.
  • Equalisation: Remember to equalise! Use the movement of the lanyard or your fingers on the line to help judge the speed you are falling. Equalise frequently and before pressure is felt.
  • Turn: With the correct hand position to turn, the momentum of the freefall can mean very little effort is needed to make a smooth turn at the bottom of the dive.
  • .....and not forgetting..... The Way up!: Using POSITIVE buoyancy to finish your dive by stopping kicking in the last 3-8m  before the surface.
0 Comments

Paralenz Camera Pt2: In Water Testing

4/7/2018

0 Comments

 
Those of you following One Breath Freediving on your social media channels will already know that I have been using the Paralenz dive camera quite extensively already, for both photos and videos, so for this review part 2 (part 1 is un-boxing and initial impressions),I wanted to look at it's use in the water. More than numbers such as pixels and frame rates, I wanted to discuss it's functionality and how well it works specifically from a freediver's point of view. 
Picture
Firstly, it's primary mount method that I have employed so far with the Paralenz dive camera has been the mask mount. For me this has been the most convenient as I am normallly using it while teaching or guiding. Once the mask attachment is threaded to the mask strap, you clip the camera on using the 'T-Rail' mount system that gives a reassuring double 'click' when properly secured.

The first thing you notice while wearing it in the water is.....that you don't actually notice the camera! Despite feeling substantial and solid when held in the hand, once attached to the mask I can honestly say that I forget that the camera is actually there. Being so non-intrusive is a huge plus for freedivers as we take in the water minimum equipment and definitely don't like things that create drag or resistance.

Functionality from this position is another massive plus. The feedback loop of vibrations of the camera unit, mean that you do not need to remove the camera (and mask) at all to know what setting you are in! For example, rotate the selector ring clockwise while turned on gives one vibration for video, two vibrations for camera, three for settings etc. And then long or short holds of the activation switch can start or stop recording or offer other functions. This creates a simple user and selector operating system and excellent hands free usability.
Picture
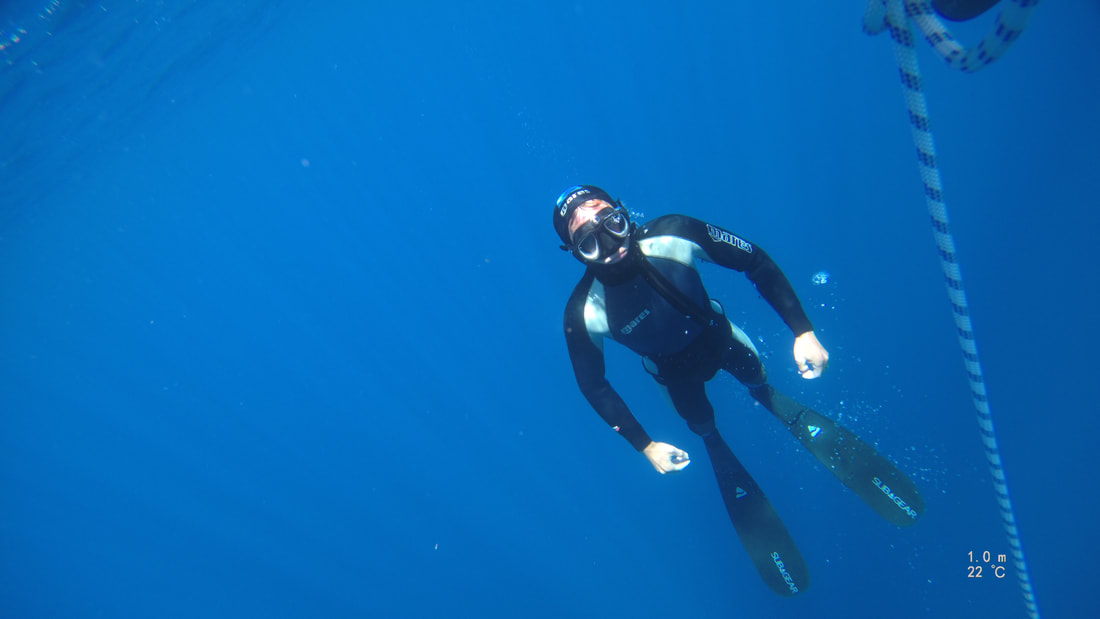
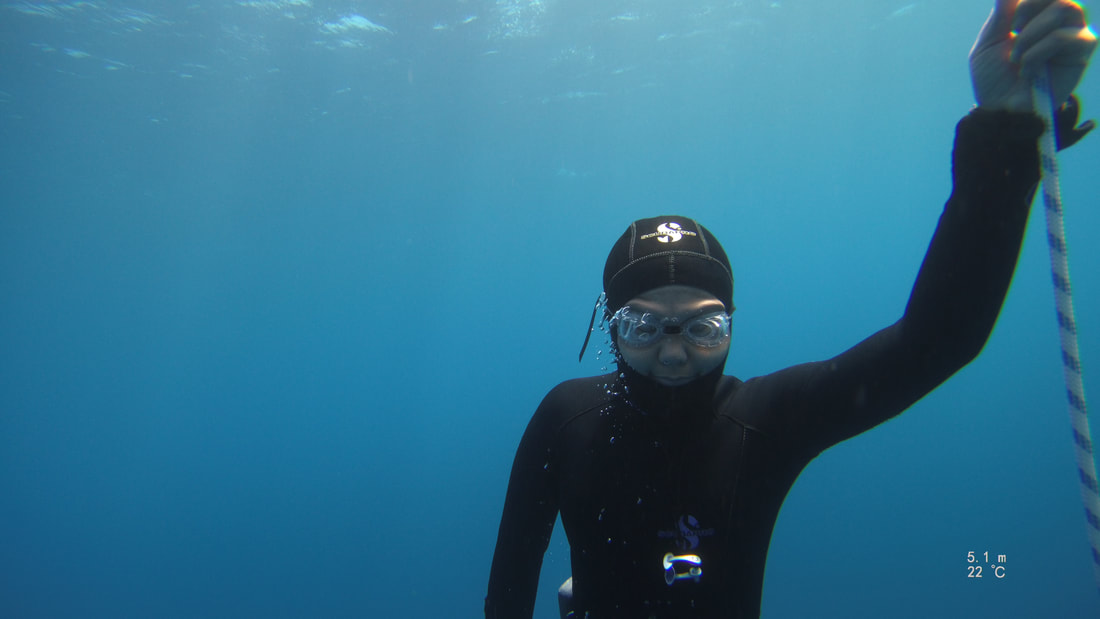
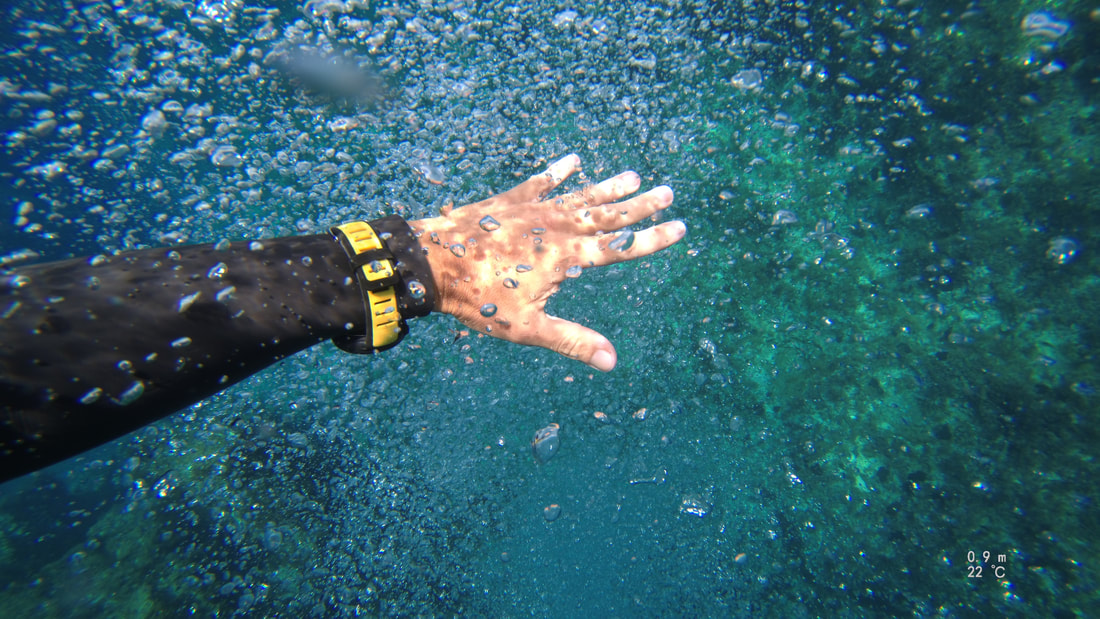
Now lets look at the quality of photos that Paralenz is capable of (for videos, check the OBF YouTube channel). All the snaps in this review were taken from the mask mount position, so just a reach to the side of the head and a short pull on the activation switch can give you some great photos. While primarily a video camera, the photos are surprisingly clear, sharp and lacking in distortion at the edges (as can be common for extremely wide angle cameras). In these photos I had Depth Colour Correction (DCC) turned on and Depth & Temperature overlay turned on. The photo above from 5m displays nice blue water and clear white logos on the wetsuit hood. The first photo handles the reflecting light from the shallow water very well and also created a shot that is not blurred or distorted from the divers movement.
Picture
Initial in water conclusions:
  • Mask mount is very useful for hands free use
  • Unit vibration feedback is a great idea and super useful with mask mount 
  • Photos lack distortion and are very sharp
  • DCC is perfect for multiple depth change diving (such as freediving)
Look out for part three of the test where I will review the features of the Paralenz App.
0 Comments

NEW: Buoy & Weight Rental (Independent Freedivers)

24/6/2018

0 Comments

 
Picture
One Breath Freediving is now renting a full freediving set up (buoy/rope/bottom weights) as well as weights and weight belts, to certified freedivers (AIDA3 certified or above).
So if you are visiting Malta and want to do your own training and exploring, we can now accommodate your needs. Contact us for more information, or find the price list, here.
0 Comments

Video: Cirkewwa Fun Dive

8/9/2017

0 Comments

 
0 Comments

'Buoy oh Buoy'

7/8/2016

0 Comments

 
Picture
Great conditions at Cirkewwa as Vitalijus & Bruno complete the final open water requirements for the AIDA3 course.
0 Comments
<<Previous

    Author

    Find out what One Breath Freediving is up to with the latest posts on this blog page.

    Categories

    All
    AIDA International
    Art
    Article
    Congratulations
    Dahab
    Education
    Equipment
    Freediving Competition
    Freediving Course
    Freediving Exploring
    Freediving Training
    Fun Freediving
    Health
    Malta
    Marine Life
    News
    Open Water Freediving
    Photograph
    Pool Freediving
    Quote
    Review / Test
    Safety
    Science
    Tips
    UK
    Video

Proudly powered by Weebly